 Skip to content


How to Center Align Artwork On MakerTwist Tumblers
These instructions are for MakerTwist®️ Tumblers
- Align your artwork to tumbler and handle every time
- Use for laser engraving, UV printing or UV DTF
- Works on all MakerTwist sizes: 20oz Skinny, 20oz Classic, 30oz & 40oz

STEP 1
Secure The Lid
Ensure the lid is fully tightened until it naturally stops.Do not over-tighten. Do this without the handle so you are able to mark and engrave. The diagram shows that when twisted on, the handle will sit at 90° from the lid tab and sip spout.

STEP 2
Select Your Center Point
Use the lid tab or sip spout as your center point alignment reference for your artwork. These reference points are factory-aligned for consistent positioning.

STEP 3
Position Your Artwork
Center align your artwork to your selected center point (the lid tab or sip spout). Mark with a pencil if removing the lid to engrave or personalize.

STEP 4
Engrave & Clean
Complete your engraving, then clean the tumbler using Dawn Powerwash® or LA's Totally Awesome® with a microfiber cloth. Your design is aligned with the lid.

STEP 5
Add the MakerTwist Handle
MakerTwist™ handles are engineered to install in the same position on compatible MakerTwist®️ tumblers every time — centered between the MakerTwist®️ tumbler lid tab and sip spout. After cleaning, screw on the lid with handle until they naturally stop. Your artwork will be perfectly aligned with the MakerTwist®️ handle every time.
MakerTwist®️ by MakerFlo
Built for Business. Made for Makers.
SHOP MakerTwist®️
10% OFF 25 SINGLES / 20% OFF BY THE CASE

40oz Tumbler with Handle White / Singles

40oz Tumbler with Handle Red / Singles

40oz Tumbler with Handle Pink / Singles

40oz Tumbler with Handle Teal / Singles

40oz Tumbler with Handle Purple / Singles

40oz Tumbler with Handle Green / Singles

40oz Tumbler with Handle Yellow / Singles

40oz Tumbler with Handle Orange / Singles

40oz Electroplated Tumbler with Handle White Rainbow Plated / Singles

40oz Electroplated Tumbler with Handle Black Rainbow Plated / Singles

40oz Electroplated Tumbler with Handle White Gold Plated / Singles

40oz Electroplated Tumbler with Handle Black Gold Plated / Singles

30oz Tumbler with Handle Black / Singles

30oz Tumbler with Handle White / Singles
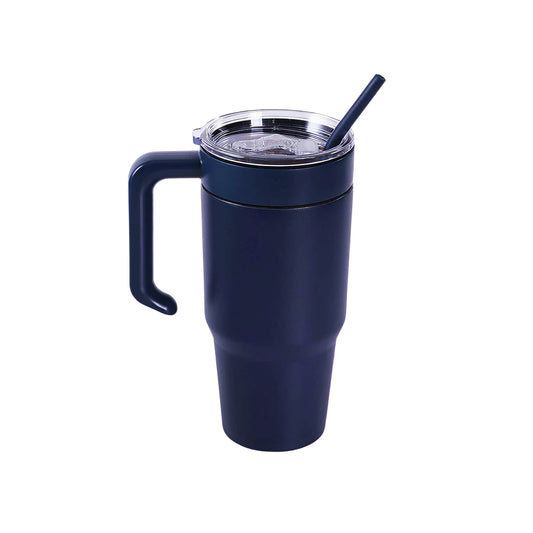
30oz Tumbler with Handle Navy / Singles

30oz Tumbler with Handle Light Blue / Singles

30oz Tumbler with Handle Maroon / Singles

30oz Tumbler with Handle Red / Singles

30oz Tumbler with Handle Pink / Singles

30oz Tumbler with Handle Teal / Singles

30oz Tumbler with Handle Purple / Singles

30oz Tumbler with Handle Green / Singles

30oz Tumbler with Handle Yellow / Singles

30oz Tumbler with Handle Orange / Singles

30oz Electroplated Tumbler with Handle White Rainbow Plated / Singles

30oz Electroplated Tumbler with Handle Black Rainbow Plated / Singles

30oz Electroplated Tumbler with Handle White Gold Plated / Singles

30oz Electroplated Tumbler with Handle Black Gold Plated / Singles

20oz Classic Tumbler with Handle White / Singles

20oz Classic Tumbler with Handle Navy / Singles

20oz Classic Tumbler with Handle Light Blue / Singles

20oz Classic Tumbler with Handle Maroon / Singles

20oz Classic Tumbler with Handle Pink / Singles

20oz Classic Tumbler with Handle Teal / Singles

20oz Classic Tumbler with Handle Purple / Singles

20oz Classic Tumbler with Handle Green / Singles

20oz Classic Tumbler with Handle Yellow / Singles

20oz Classic Tumbler with Handle Orange / Singles

20oz Electroplated Tumbler with Handle White Rainbow Plated / Singles

20oz Electroplated Tumbler with Handle White Gold Plated / Singles

20oz Skinny with Handle Black / Singles

20oz Skinny with Handle White / Singles

20oz Skinny with Handle Blue / Singles

20oz Skinny with Handle Red / Singles

20oz Skinny with Handle Pink / Singles

20oz Skinny with Handle Teal / Singles

20oz Skinny with Handle Purple / Singles

20oz Skinny with Handle Green / Singles

20oz Skinny with Handle Yellow / Singles

20oz Skinny with Handle Orange / Singles

20oz Skinny Electroplated with Handle White Rainbow Plated / Singles

20oz Skinny Electroplated with Handle Black Rainbow Plated / Singles

20oz Skinny Electroplated with Handle White Gold Plated / Singles


